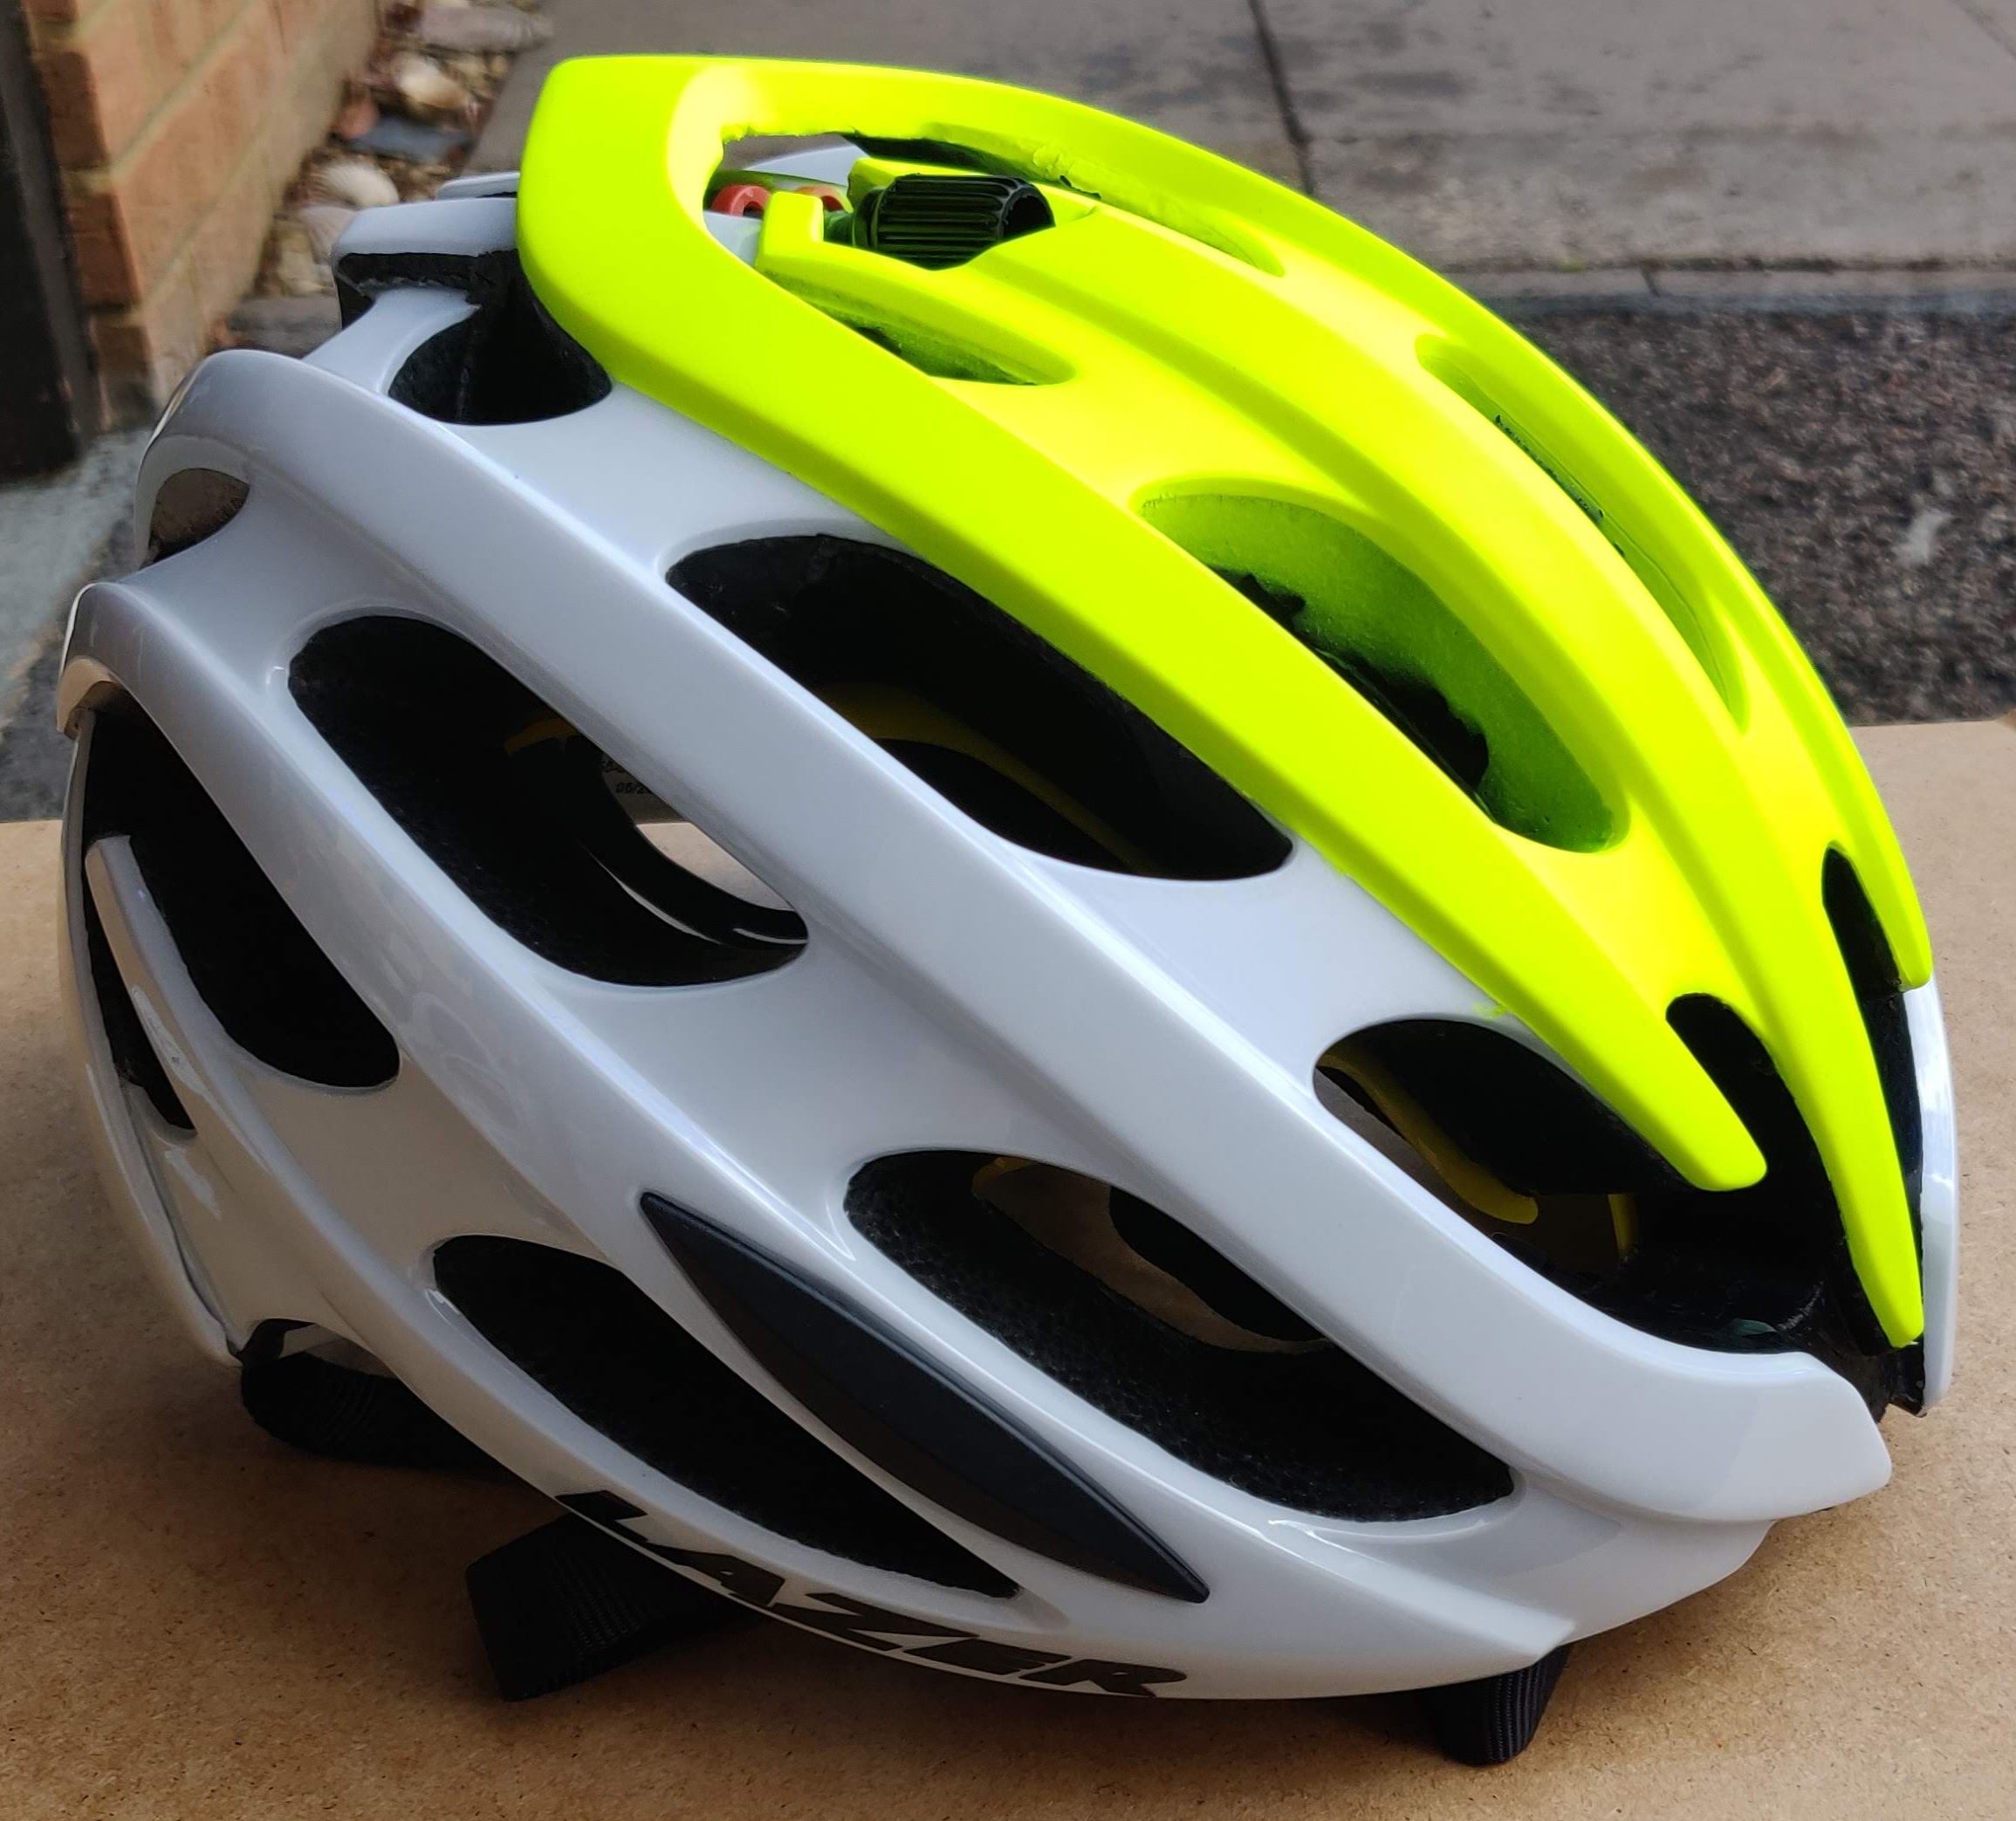
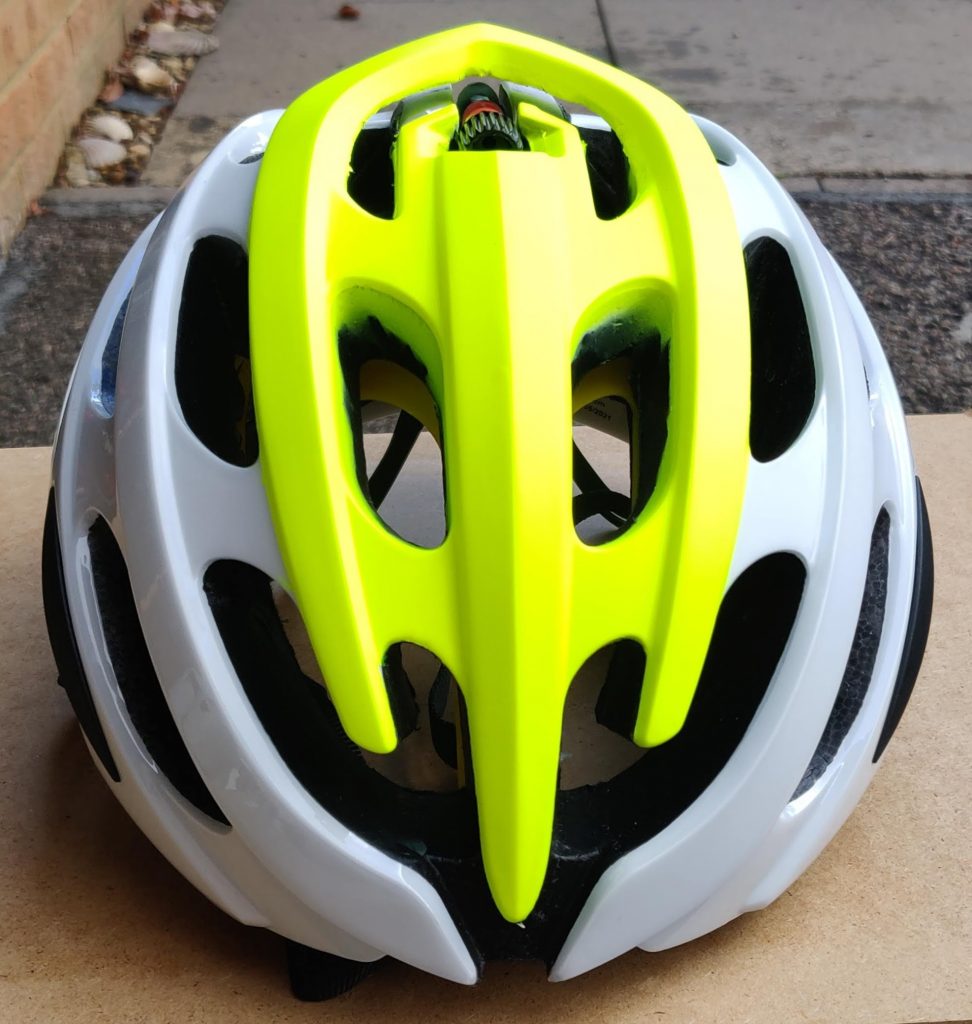
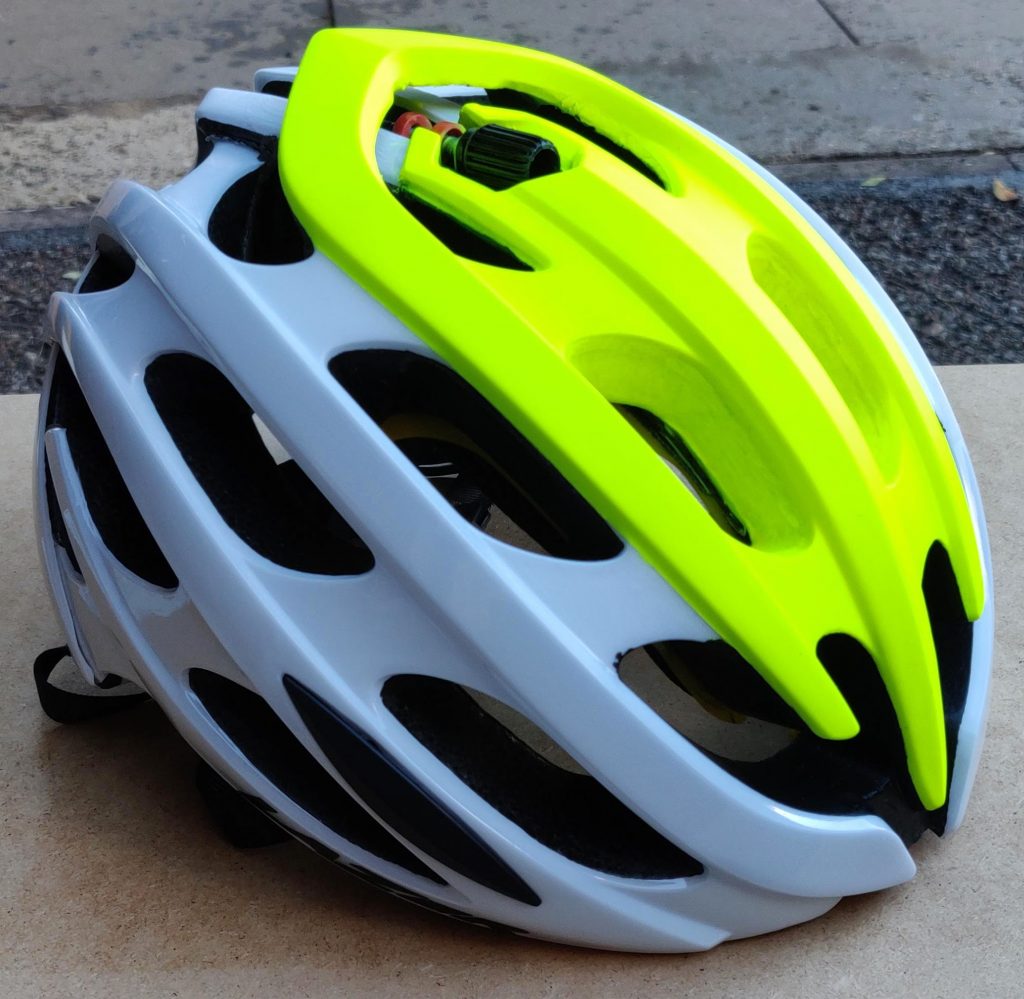
I broke a helmet recently (it did it’s job brilliantly, so I wanted the same again) and got a replacement in the Lazer “crash replacement program”. It wasn’t a particularly great deal, actually. I paid £67.50 for the original helmet (£75 Halfords minus 10% British Cycling discount). Replacement was 50% of the full retail price (£100) but I also had to send back the old one (~£5). So it cost me £55. The other snag was that they didn’t have any black ones so I had to get white or choose a different one. Oh well – I’ll paint it*. Bit of a nuisance, but I’d be adding some fluoro yellow to it anyway. I do that with all my helmets, partly as a signature and partly for visibility. I’ve been doing this since I started road-biking in 2019, and it has amused me recently to see some World Tour teams doing a similar thing.
* Bike helmet manufacturers often like to discourage the painting of their helmets with the warning that it could compromise the integrity of the helmet. And while this may be true for solvent-based paints, which can eat into the plastic, I’m using water-based acrylics that are suitable for motorbike helmets. If water is a problem, you shouldn’t use your helmet in the rain. 😂 How many helmet manufacturers tell you not to use their products in the rain? Approximately none! End of chemistry lecture.
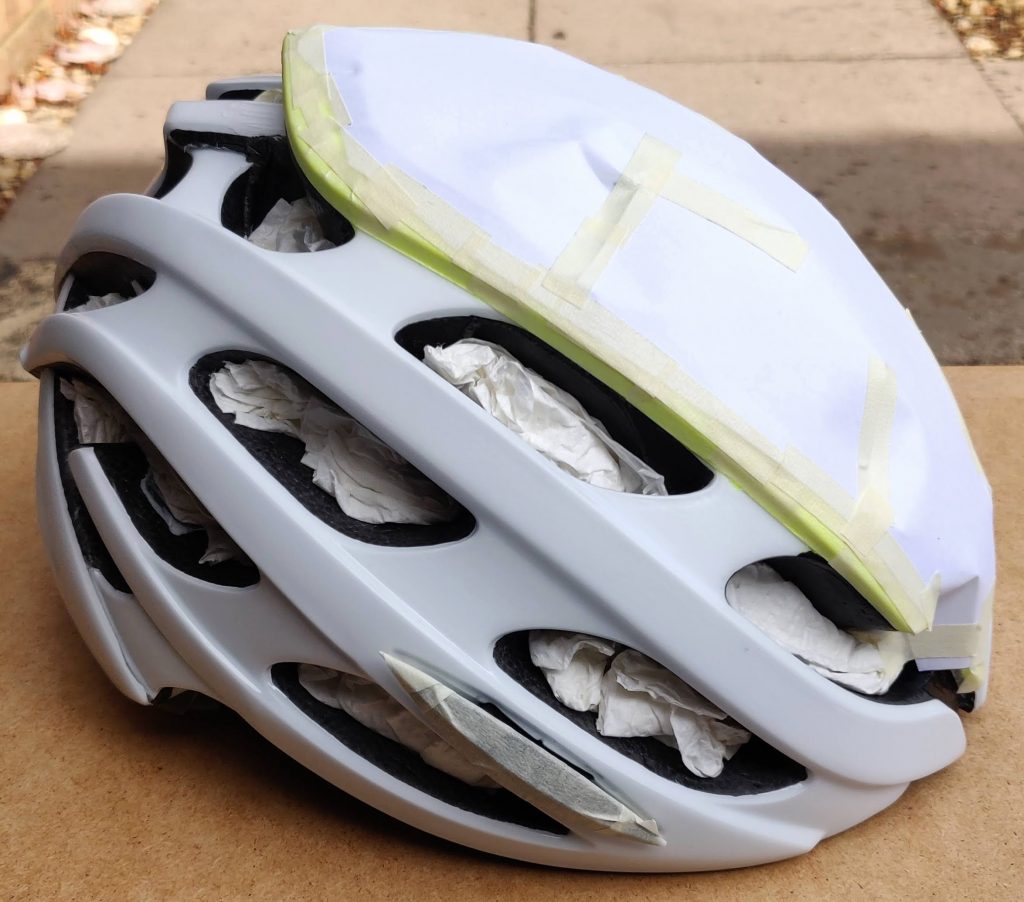
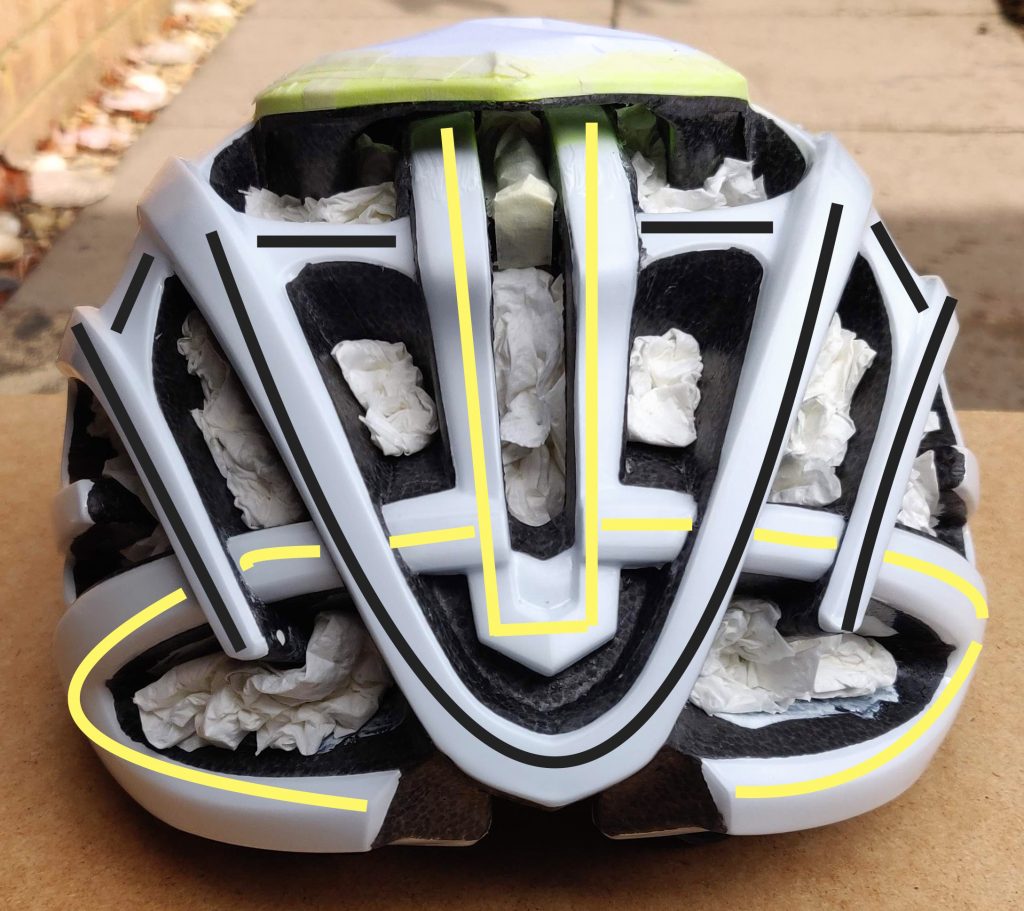
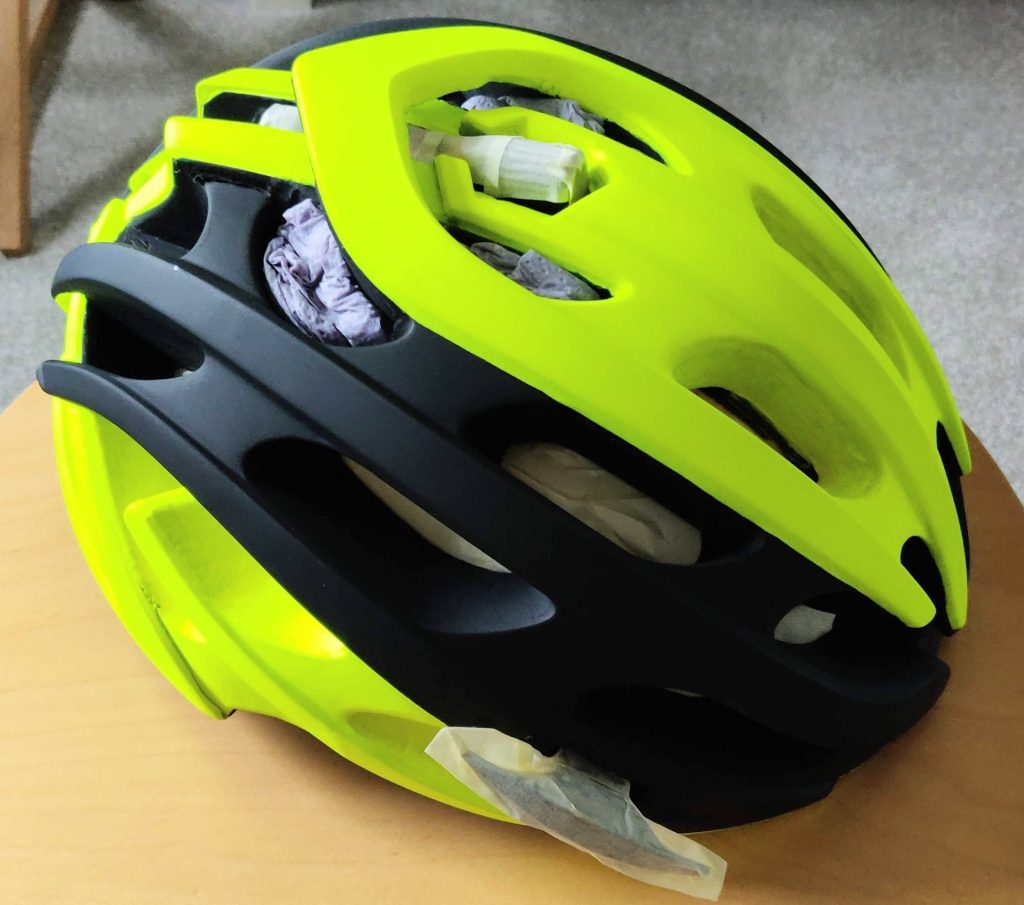
Before you can do anything you need to lightly key the surface with 800 grit wet ‘n’ dry to give the paint something to grip. Then mask up ready for primer. I decided to work exclusively on the middle area first and then decide exactly how to finish it off when that’s all done. All visible white in this shot will be fluoro yellow including the visible parts of the foam, which are a fairly neutral and boring grey by default.
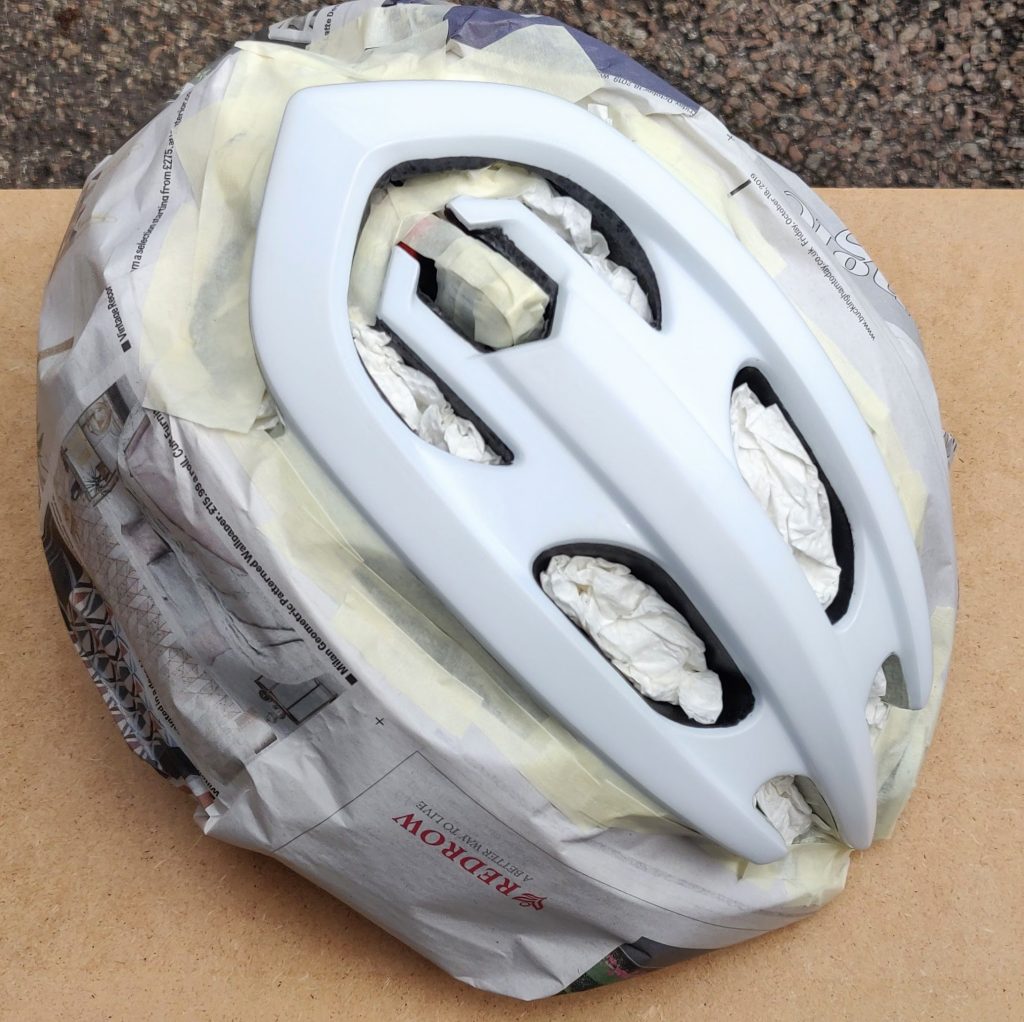
The rest will probably be black, but I might decide to do something more complex – we’ll see. That might cause an issue with the black on white Lazer stickers, but I might either ‘frame’ them or remove them and just ‘debrand’. I could even stencil them back on, but I don’t think it’s worth the effort. Although I will almost certainly stencil on my name, as I always do.
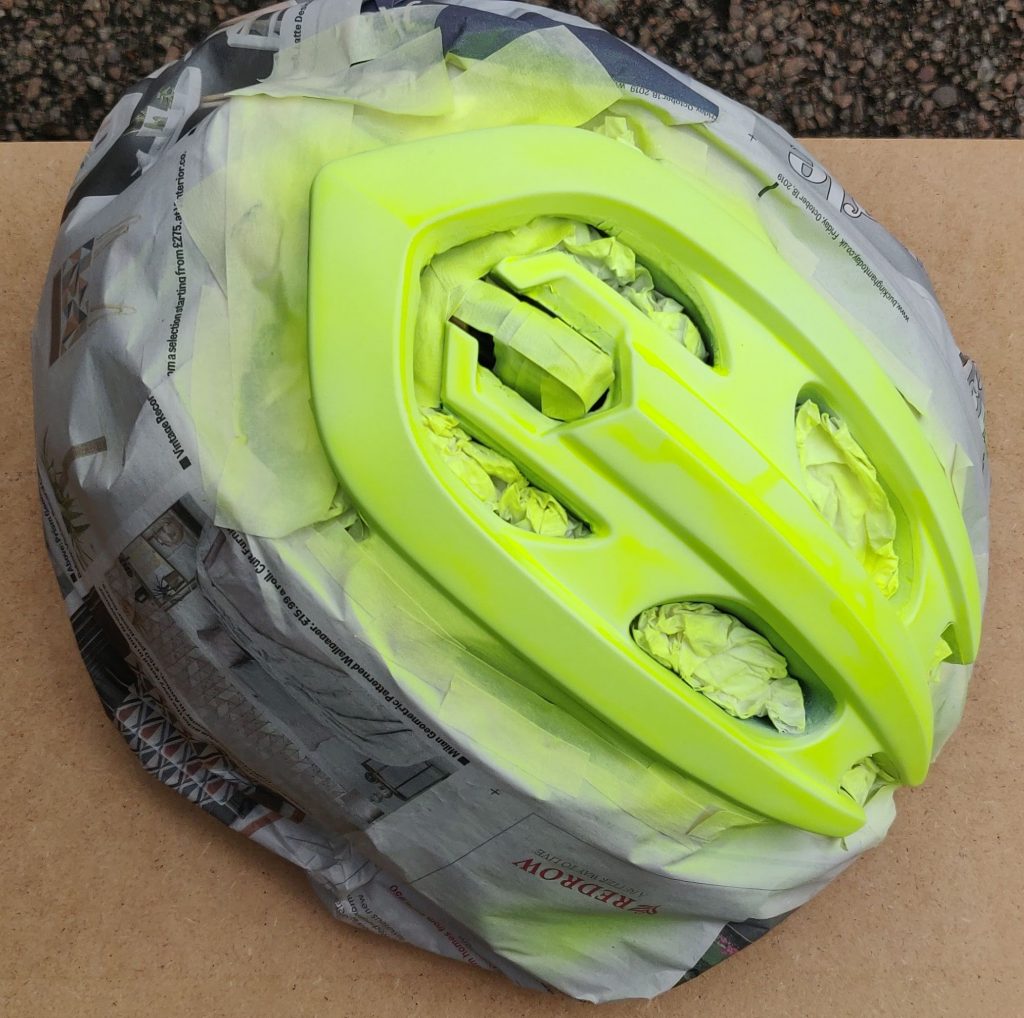
Shouldn’t really take photos at this intermediate stage as it really does look crap – particularly as I didn’t spray it very well (too wet) and then hung it upside down so it ran. But once there’s 3-4 coats on it will start to look a lot better and any uneven bits will either be invisible or can be flatted back after a few days when fully dry.
Still some slight evidence of the ‘drip’, but looked a lot better coverage after two coats. Third coat I put on very slowly and multiple passes (which is how I’ve done things in the past) and immediately after that it started to look nice.
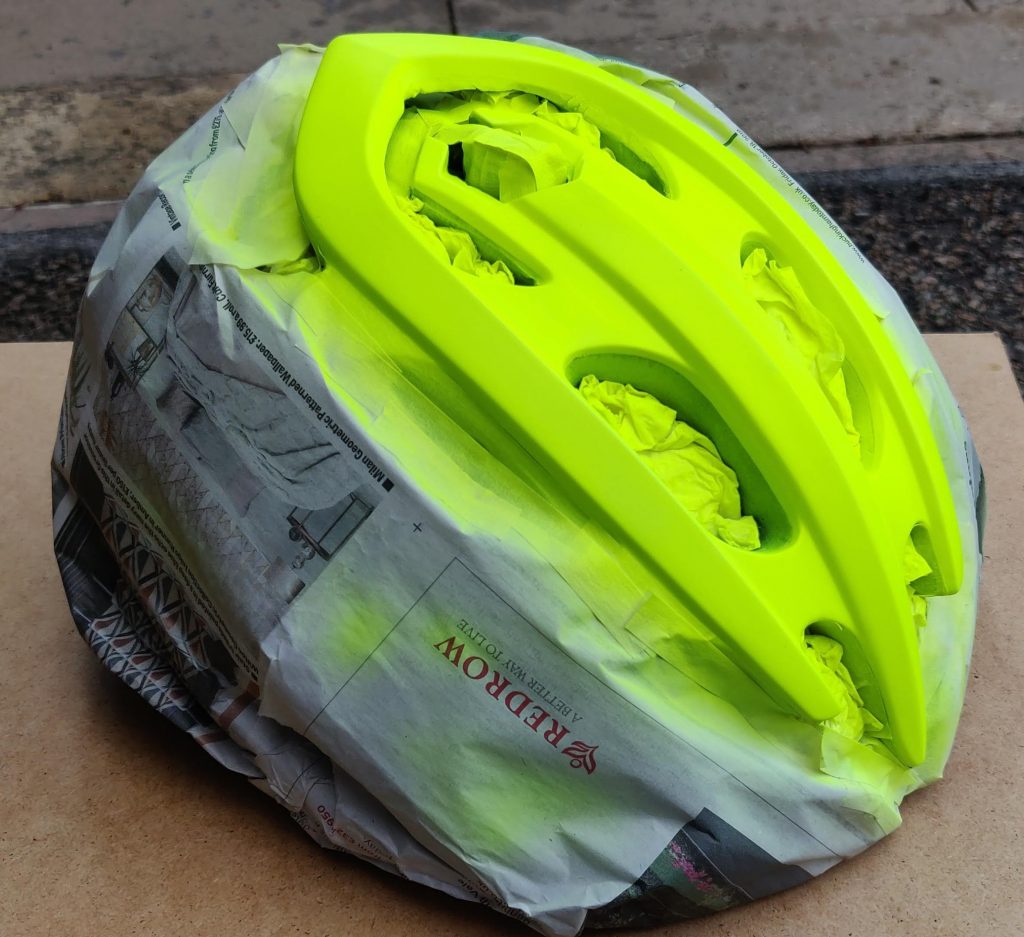
It’s going to be be necessary to play the long game here though, as I’ll need to brush paint the foam bits after the masking comes off. That will end up being a good thing though because that can happen over a couple of days while the yellow is drying out properly before I have to mask over it to paint the rest of the helmet.


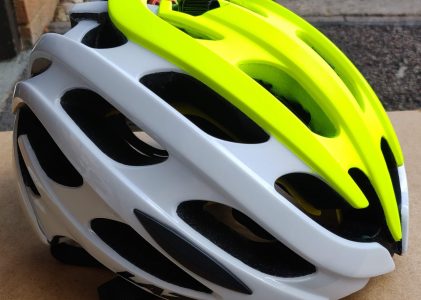
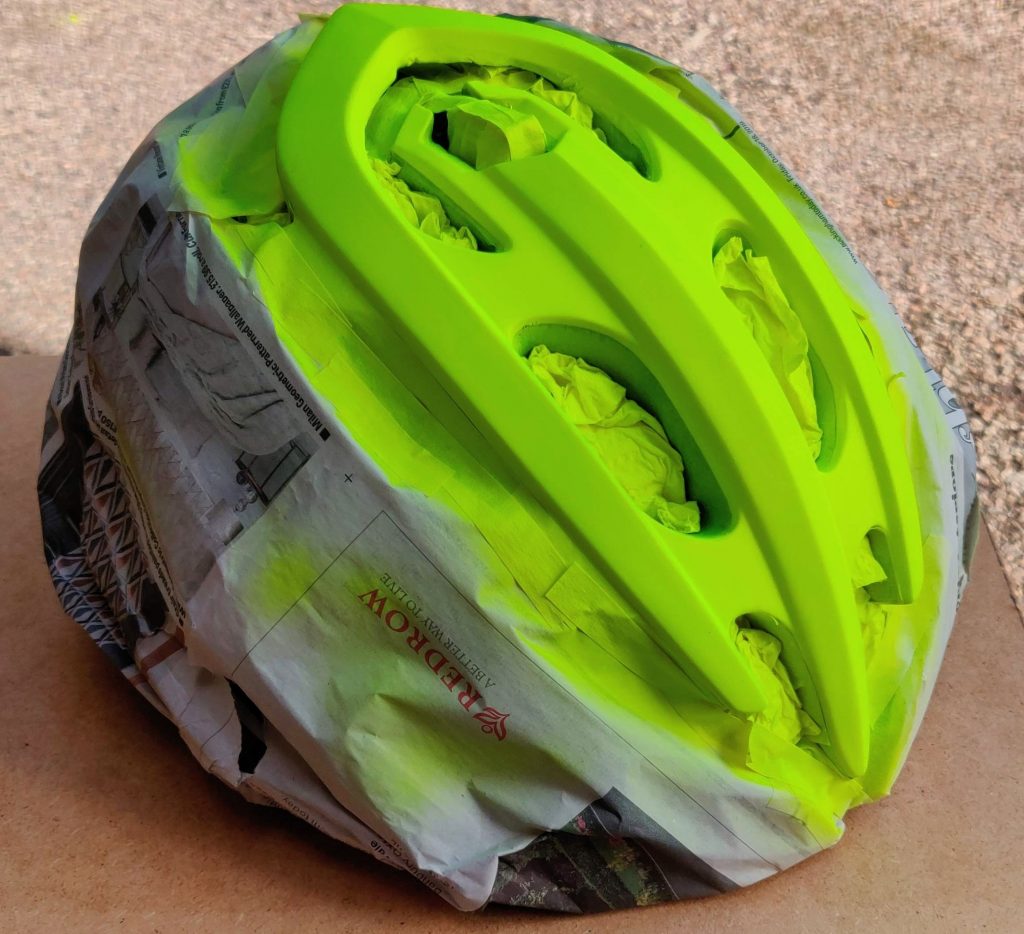
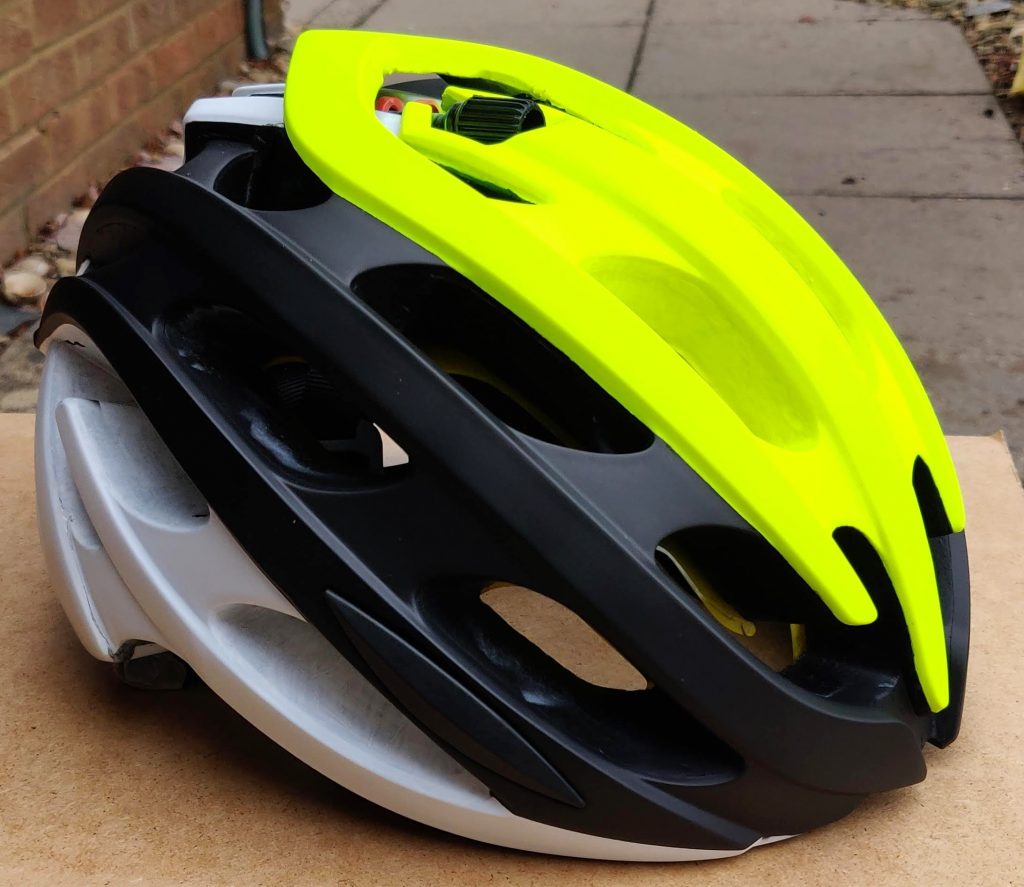
Pretty much finished the yellow inner foam bit now. Will be time to rub down the remaining white and mask off for priming and black top-coat. Probably going to leave some space on the sides for another row of yellow. Think it will look nice, plus good for side-on visibility.
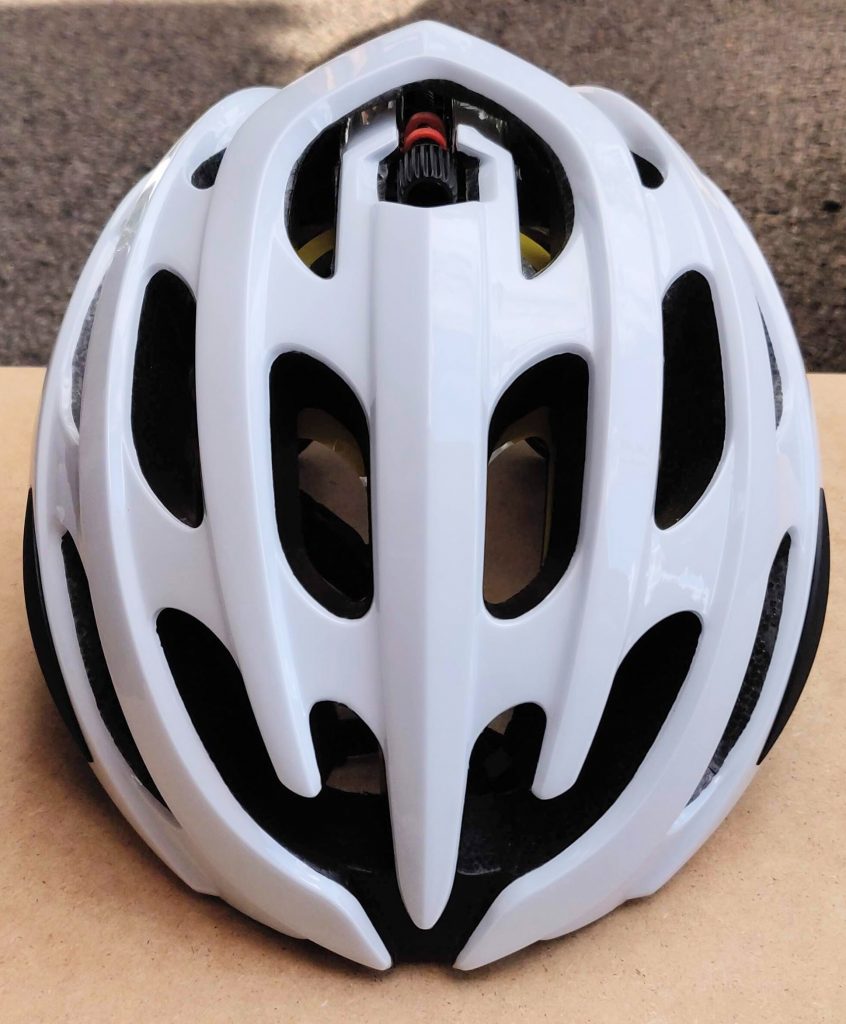
Next up, was the need to remove the Lazer stickers (hairdryer assist) and then rub down the remaining white area with 800 grit wet ‘n’ dry.

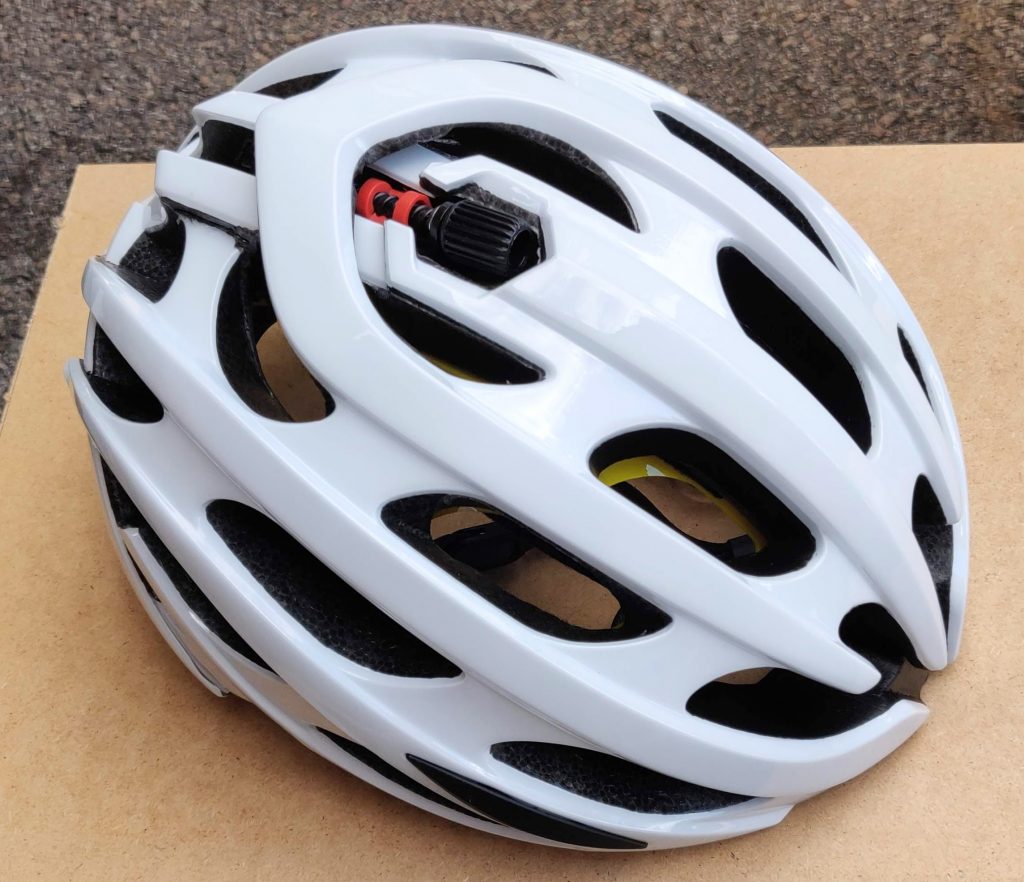
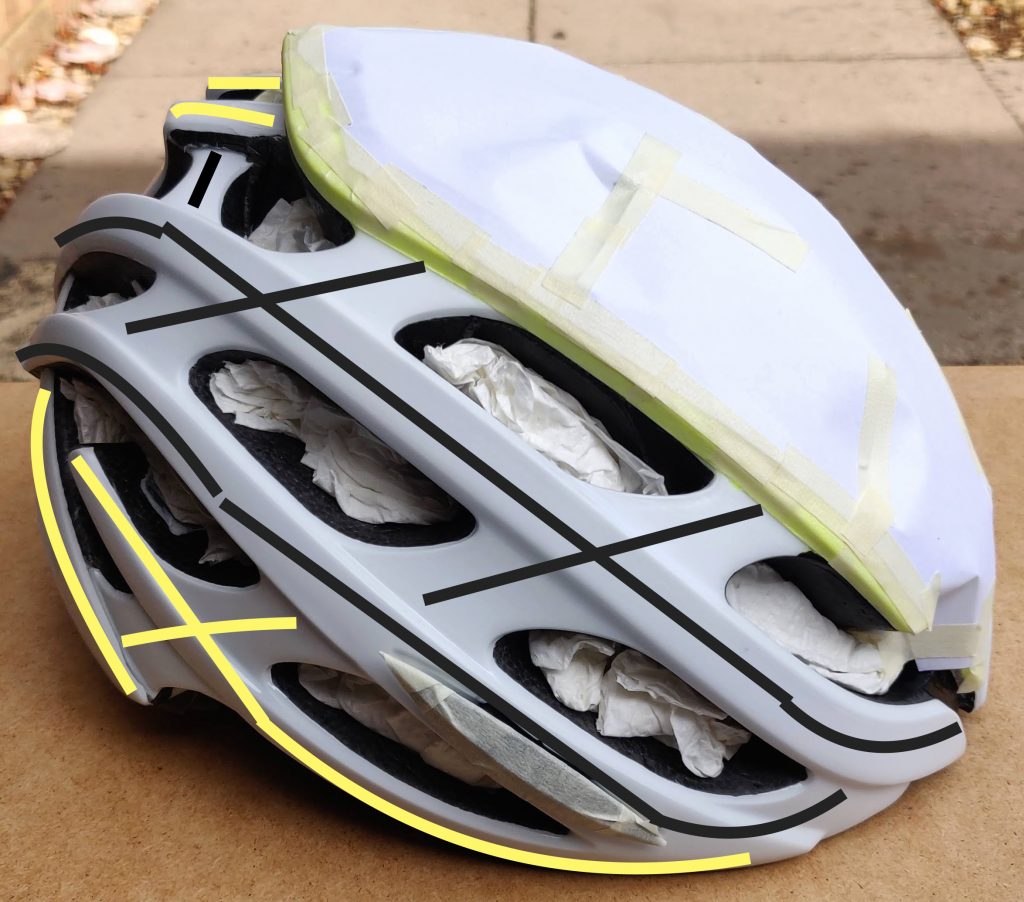
Once primed I’ll leave it overnight and then mask up the bottom bits prior to a couple of coats of black on the top two rows. Then I’ll probably leave it for at least a couple of days before masking up the black to finish the final yellow. And THEN the whole thing will need some clearcoats for longevity. Next two photos show my current thinking (also should help me remember what I’ve decided 😂).


The masking for the black layer was tedious. I had to do it in two sessions. But then, that’s why complex paint schemes are very expensive because lots of time is required.
I’m really quite eager to see what it will look like when the masking is removed. Must be patient though or ruin the whole thing. After 2 coats of black I took the masking off fairly quickly. This is going to be great…
All areas where you can see white (primer) will be fluoro yellow.
There was no tear-out from the original yellow – only a little bit of primer tore from the foam inner. That’s easily fixed with a brush – along with some bits of black over-spray that crept past the masking. I will fix up all the foam bits and leave it for a couple of days for the black to dry well before masking up and spraying the remaining yellow layer. Thereafter the whole thing will get 2-3 clear-coats of matt or satin varnish, then sit for a week before I can risk getting it wet. (I might take that time to do the name.)
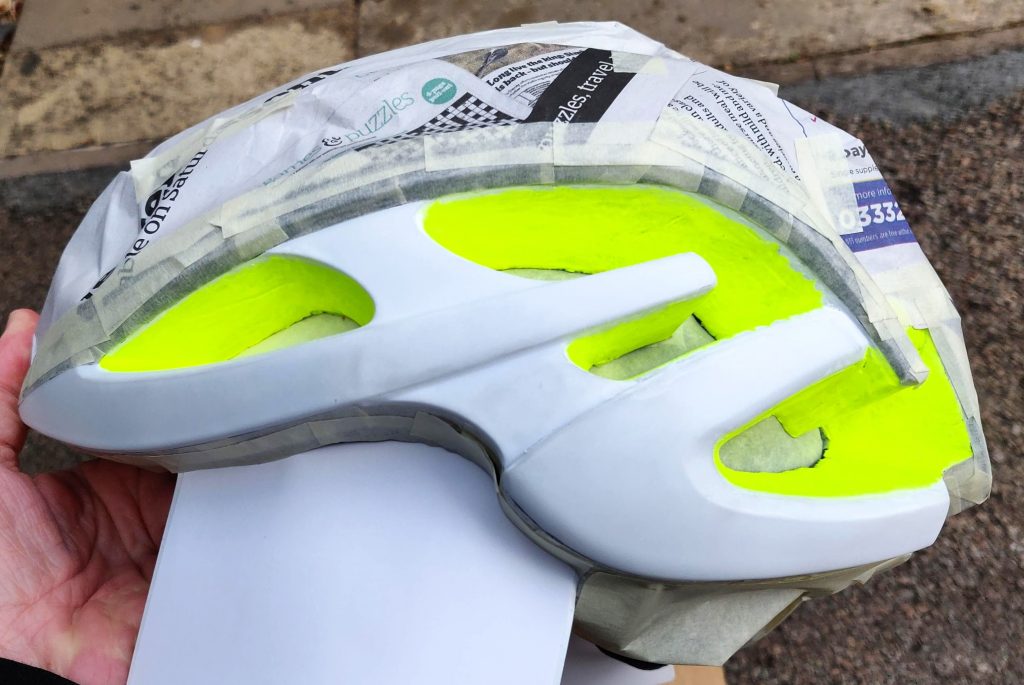
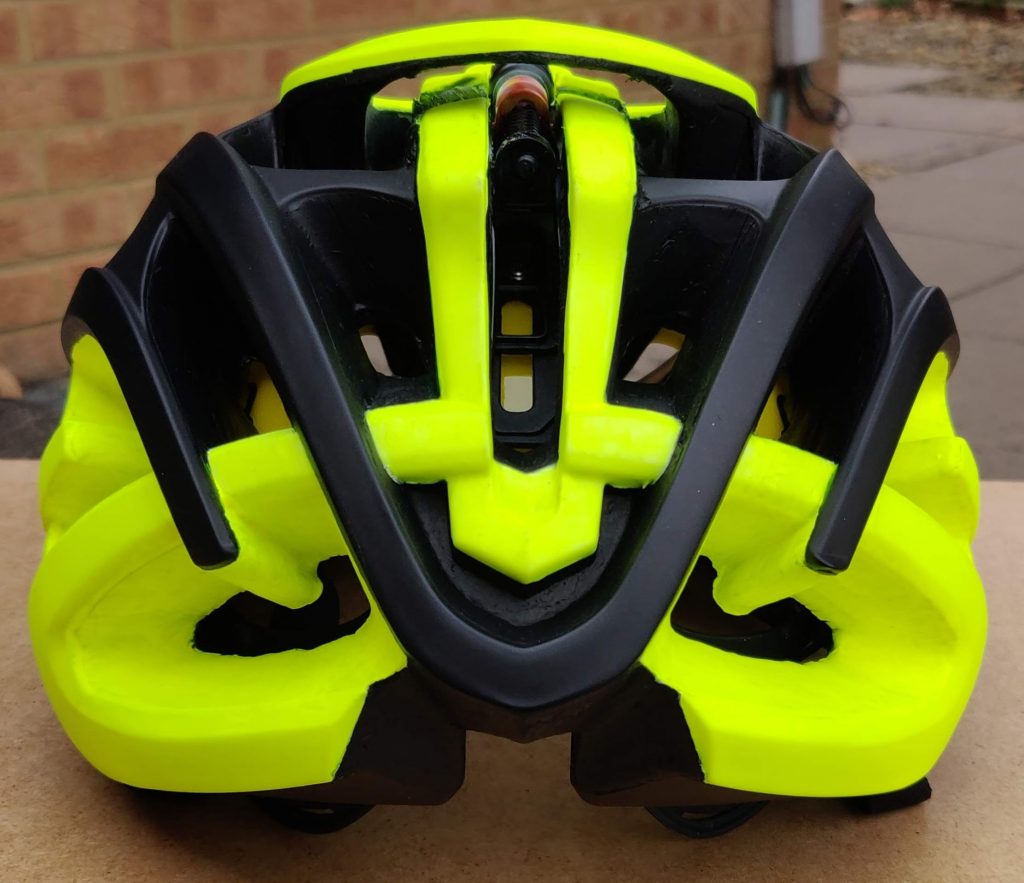
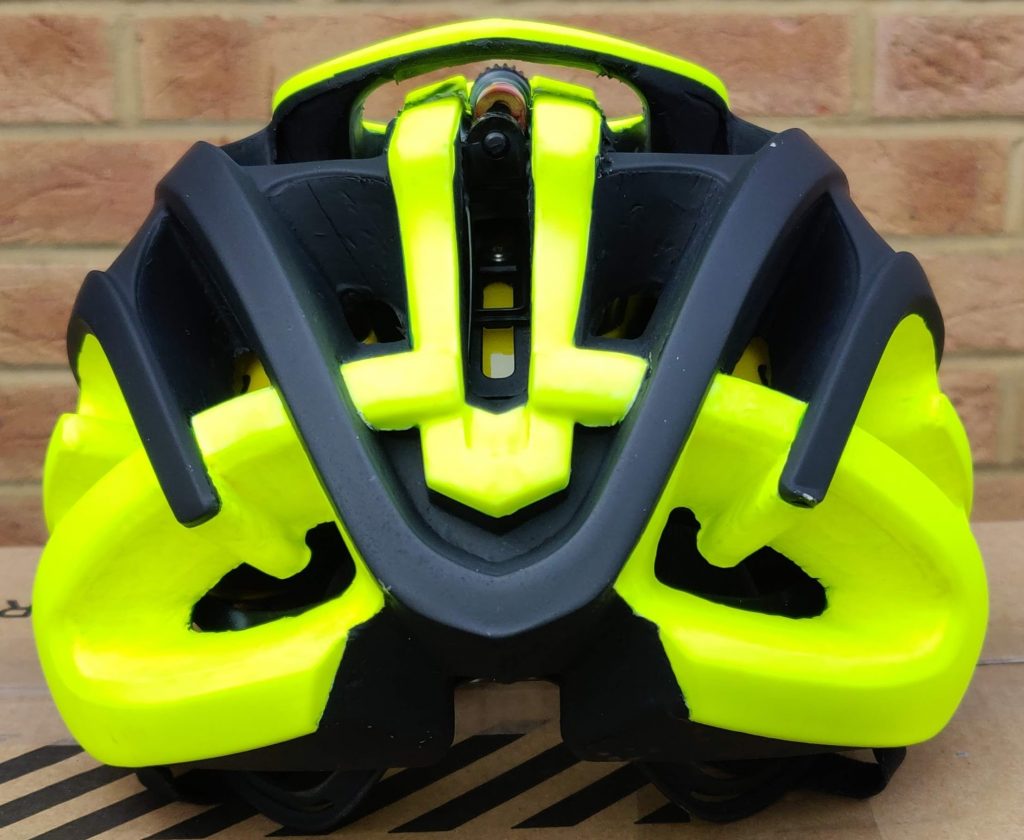
Back from a week abroad, the black has had time to dry nicely, as has the brush-painted yellow on the foam parts. Fully masked off and ready for final yellow layer. 3 coats, as per usual, then we’ll unmask and see what it looks like. The underneath rim will be black and probably brushed on. There may be a need to retouch some of the lines, depending on how it went.
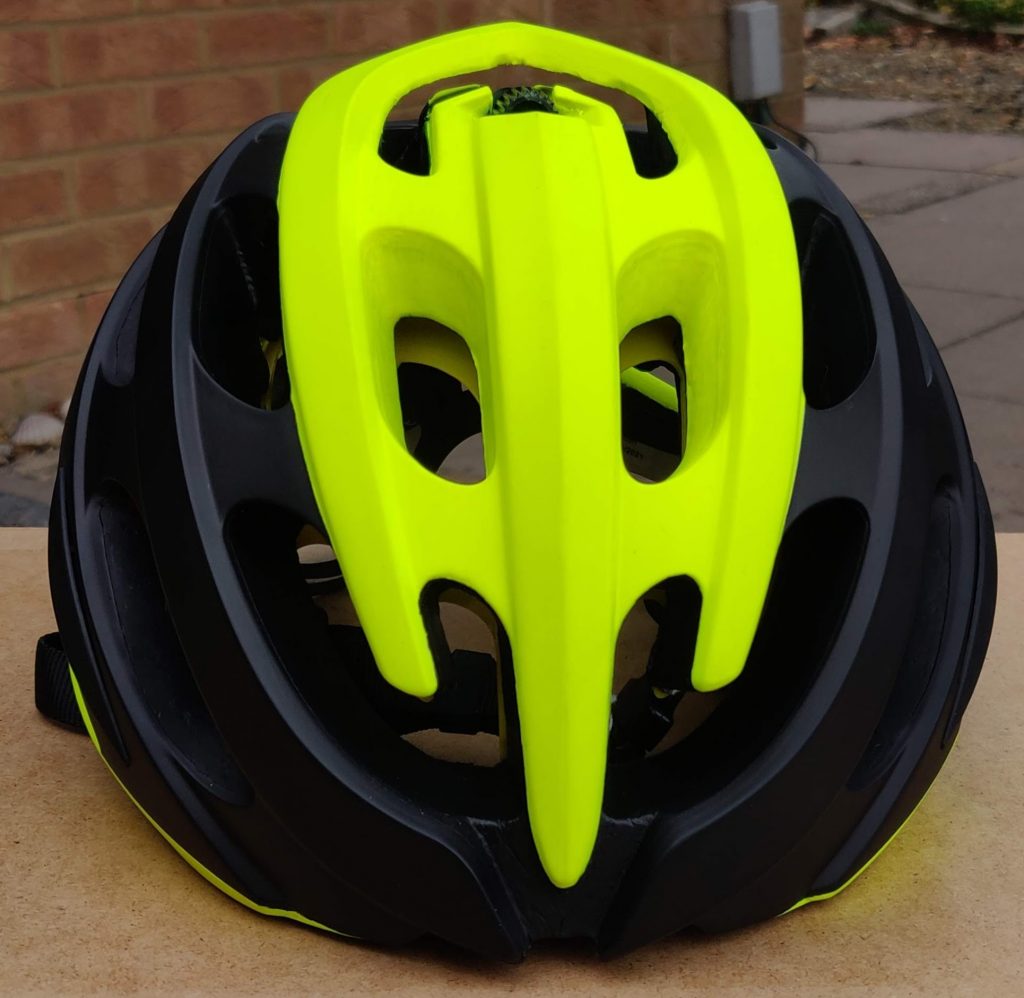

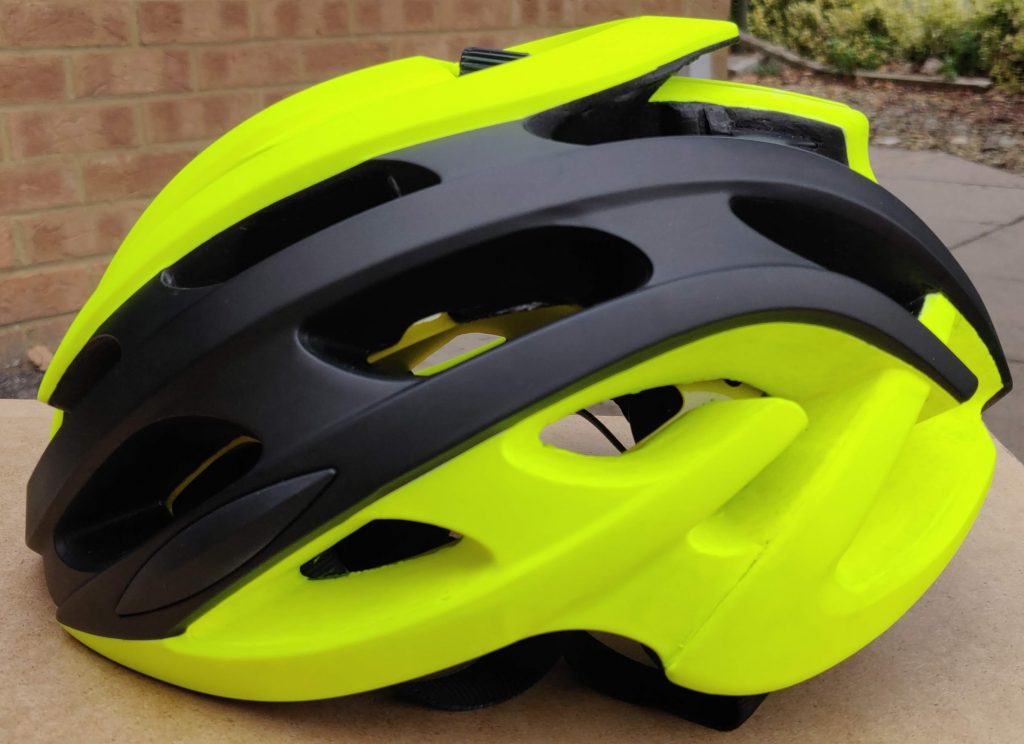
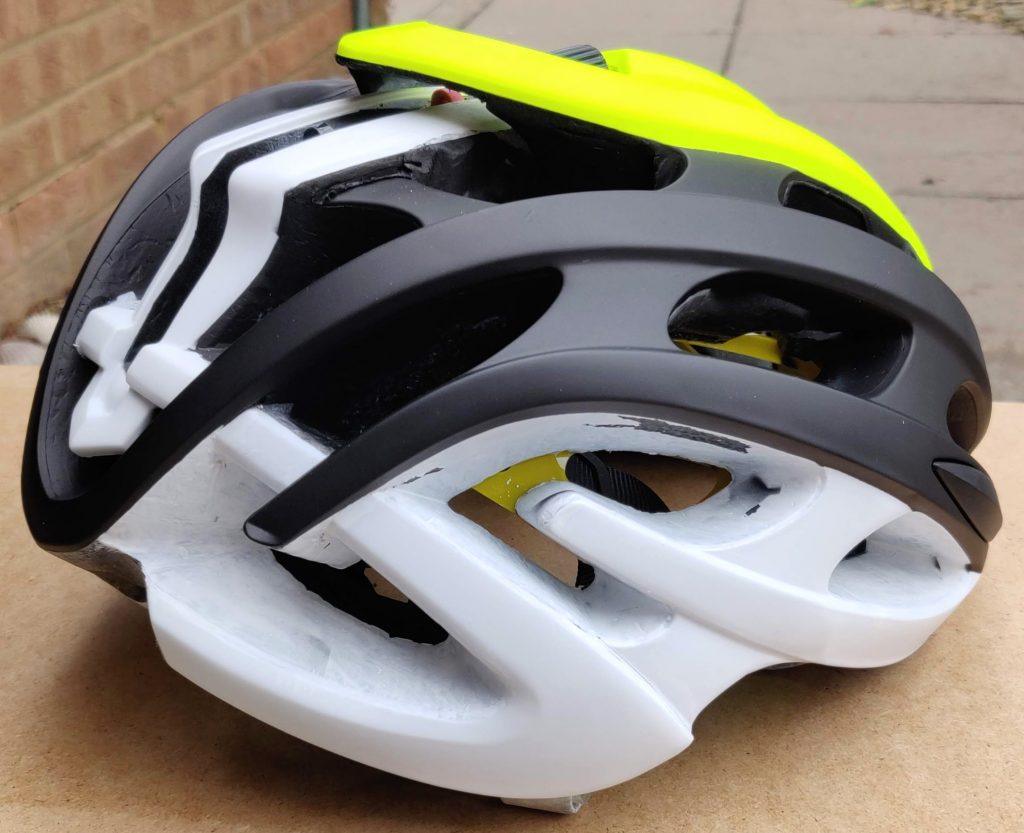
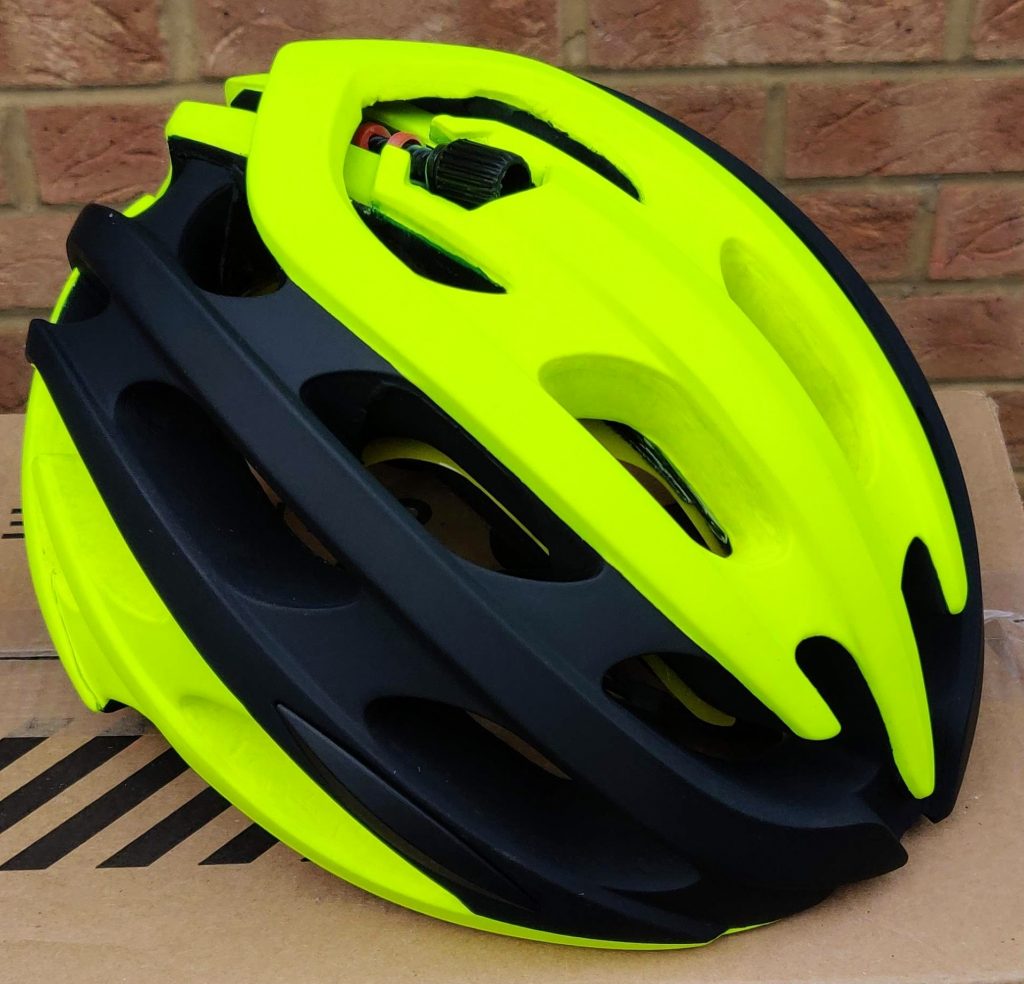
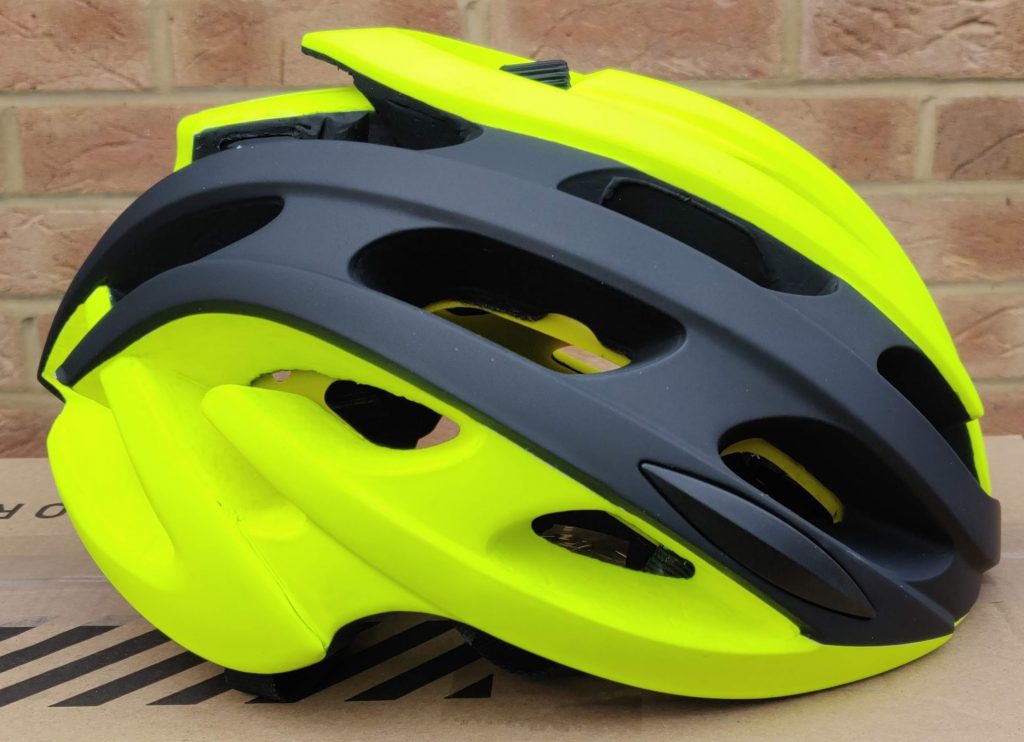
Pretty happy with that. It needed a very little line retouching and the underside rim was brushed black. All that remains now is some clear coats. Need to decide if I can brush that on with some small tests in a discreet area. Gloss goes on well with a brush, but I’d prefer matt on this. So need a test first to see if it’ll work. Would be good if it did, as it would avoid the need for any further masking. If not, I’ll have to mask off all the holes and spray the whole thing.
3 coats of matt varnish done 12 Feb 2023 as it’s getting close to time when I want to be using this helmet. Masking up was quite tedious, as usual. Used my small touch-up gun as it was for a larger area all at once.
Will now leave this to harden for a week or two, then it’ll be ready to use. I’m still going to put some lettering on it, but now it’s clear-coated that can be done any time.
Interesting aside. I just found a website where they offer custom helmet painting. For a medium-complexity design they charge £600-£1000. I’ve no doubt they do an excellent job and I know it takes ages to do. But that’s staggering! 😱